-

Spring 2024 Trend Report: Peach Fuzz and its supporting cast
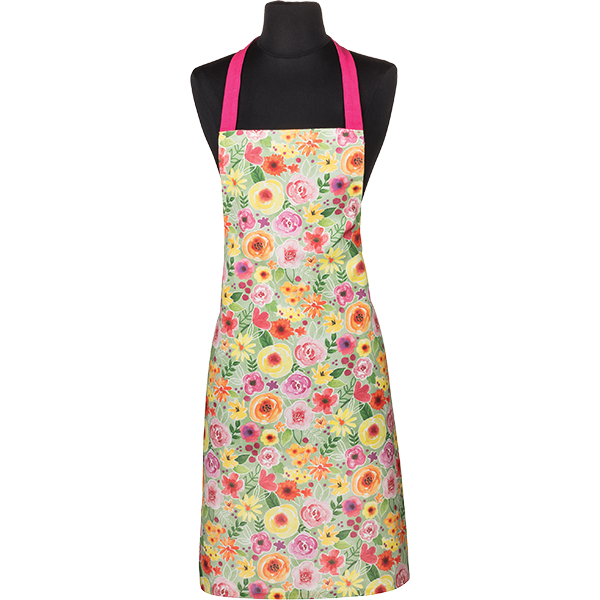
This year's outlook is just peachy. The Pantone Color Institute named Peach Fuzz (PANTONE 13-1023) its 2024 Color of the Year, and the hue is alrea... more » -

From the Editor: The Guide 2024 debuts
The retail industry is always evolving. At Gift Shop® Plus and Stationery Trends, we strive to monitor all the trends — design trends, buyin... more » -
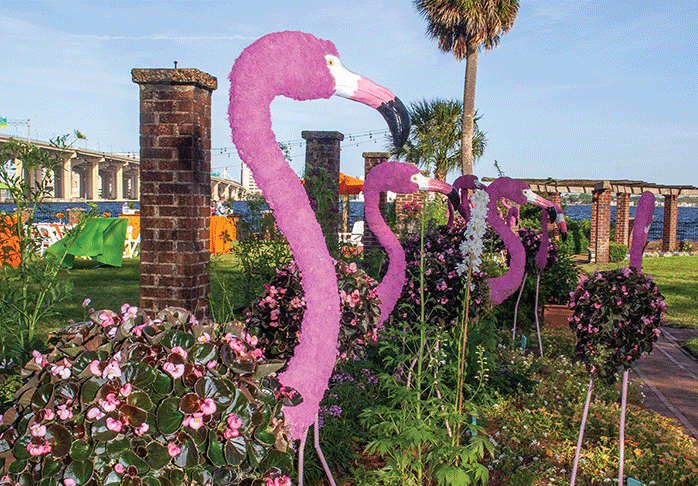
Overflowing with Beauty: Gardens and art converge at the Cummer Museum & Shop
An oasis where visitors can peruse elaborate gardens as well as art exhibitions exists at The Cummer Museum of Art & Gardens in northeast Florida.... more » -

Wilderness Inspired: National Parks and Beyond sparks wanderlust
Laura Cole and her husband have always been avid travelers. About 10 years ago, the Missouri-based couple took their four sons on a family trip... more »
News
April 22, 2024
Apparel, Formal Markets launch autumn/winter 2024
April 22, 2024
Atlanta Market updates home resources for summer 2024
April 22, 2024
LVDC presents two events in May 2024
April 17, 2024
GCA names 35th Annual Louie Award winners
April 16, 2024
MarketTime names Christine Lee as CEO
April 16, 2024
Registration opens for Summer 2024 Las Vegas Market
Featured
From the Editor: New Ventures
This issue's column is a bittersweet one to write. Julie McCallum P... more »
Spring 2024 Trend Report: Peach Fuzz and its supporting cast
This year's outlook is just peachy. The Pantone Color Institute nam... more »
From the Editor: The Guide 2024 debuts
The retail industry is always evolving. At Gift Shop® Plus and... more »Products

Paradise Green
Trend Report
Atomizer
Trend Report
Pale Banana
Trend Report
Dianthus
Trend Report
Peach Fuzz
Trend Report


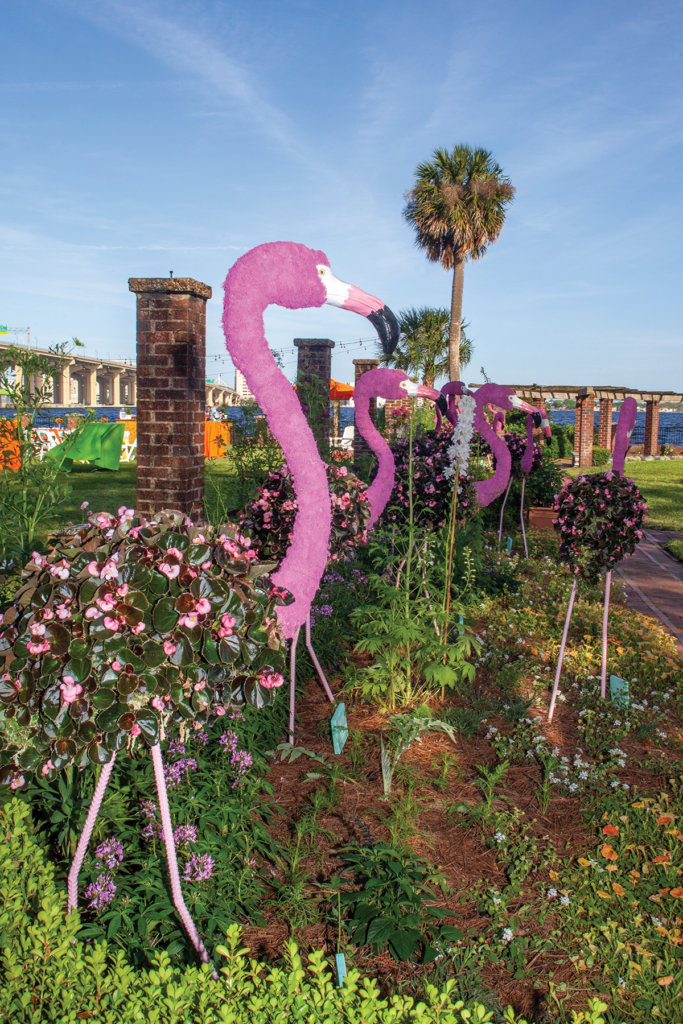
Overflowing with Beauty: Gardens and art converge at the Cummer Museum & Shop
An oasis where visitors can peruse elaborate gardens as well as art ex... more »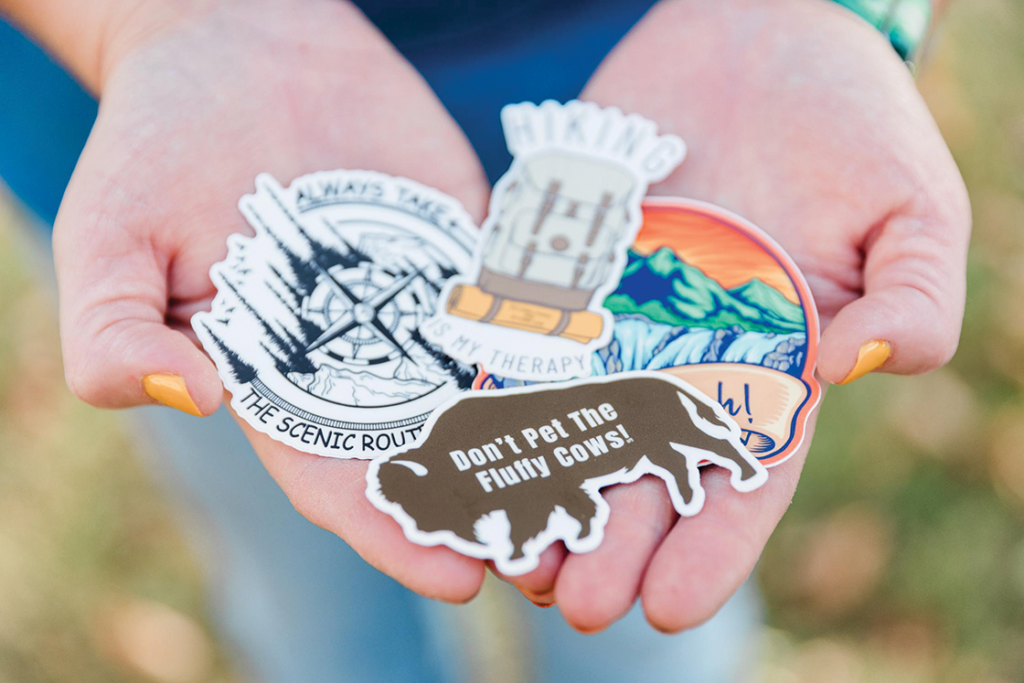
Wilderness Inspired: National Parks and Beyond sparks wanderlust
Laura Cole and her husband have always been avid travelers. Abo... more »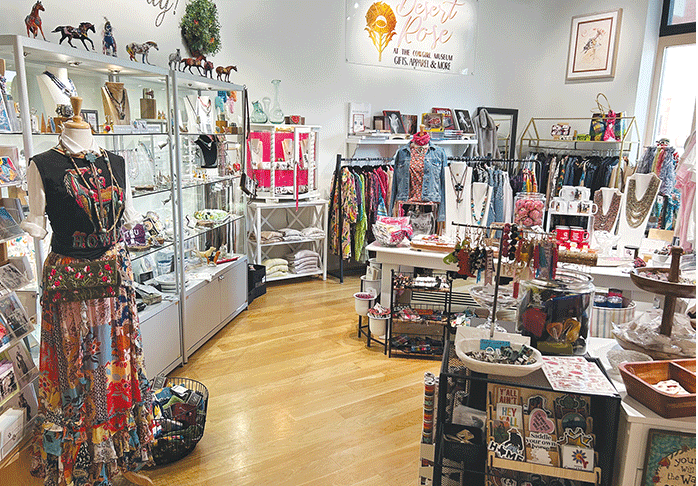
Cowgirl Up: Desert Rose Boutique honors women of the West
Many stories go largely untold throughout history. But the National Co... more »


Social Connections
Gift Shop Plus Spring 2024 has arrived, and it couldn't be a more gorgeous issue! 🌷 ![]()
![]() Cover to cover, this edition is packed with the latest trends to help guide business as you begin to think about the next buying cycle in just a few months.
Cover to cover, this edition is packed with the latest trends to help guide business as you begin to think about the next buying cycle in just a few months. ![]()
![]() "Radiance, Redefined" (page 54) introduces four jewelry makers, unveiling the freshest trends in the market. To learn which eco-conscious companies are launching collections that positively impact the planet, flip to "Green-Living Essentials" on page 62.
"Radiance, Redefined" (page 54) introduces four jewelry makers, unveiling the freshest trends in the market. To learn which eco-conscious companies are launching collections that positively impact the planet, flip to "Green-Living Essentials" on page 62. ![]()
![]() We're also thrilled to introduce a new category for us at the magazine: Sports & Tailgating. Head to page 66 to read about products that will elevate the tailgating experience and learn how to merchandise for the NFL's budding demographic.
We're also thrilled to introduce a new category for us at the magazine: Sports & Tailgating. Head to page 66 to read about products that will elevate the tailgating experience and learn how to merchandise for the NFL's budding demographic. ![]()
![]() Also in this issue is our Stationery Lookbook, Halloween & Fall Décor feature and dozens of the freshest product offerings. Read our Spring 2024 issue here: www.nxtbook.com/greatamericanmediaservices/GiftShop-Plus/spring-2024/index.php#/p/1
Also in this issue is our Stationery Lookbook, Halloween & Fall Décor feature and dozens of the freshest product offerings. Read our Spring 2024 issue here: www.nxtbook.com/greatamericanmediaservices/GiftShop-Plus/spring-2024/index.php#/p/1![]()
![]() 📸 courtesy of Océanne.
📸 courtesy of Océanne.
")
")
")
 Learn more: https://giftshopmag.com/article/find-everything-but-the-water-surf-expo/")
 Learn more: https://giftshopmag.com/article/discover-whats-new-and-noteworthy-at-las-vegas-market/")
 Learn more: https://giftshopmag.com/article/talking-trends-at-atlanta-market/")
 Learn More: https://giftshopmag.com/market-news-dec-2022")
")
 Learn more in our Spotlight on Las Vegas Market")
")
")

Upcoming Trade Shows
May 15 – 17
International Fashion Jewelry & Accessory Group
Orlando, FL USA
Jun 19 – 25
Dallas Total Home & Gift Market
Dallas, TX USA
Jun 19 – 22
Lightovation: Dallas International Lighting Show
Dallas, TX USA
Jul 15 – 18
Summer Casual Market Atlanta
Atlanta, GA USA
Jul 16 – 22
Atlanta Market
Atlanta, GA USA
Jul 28 – Aug 1
Las Vegas Market
Las Vegas, NV USA
Aug 4 – 7